
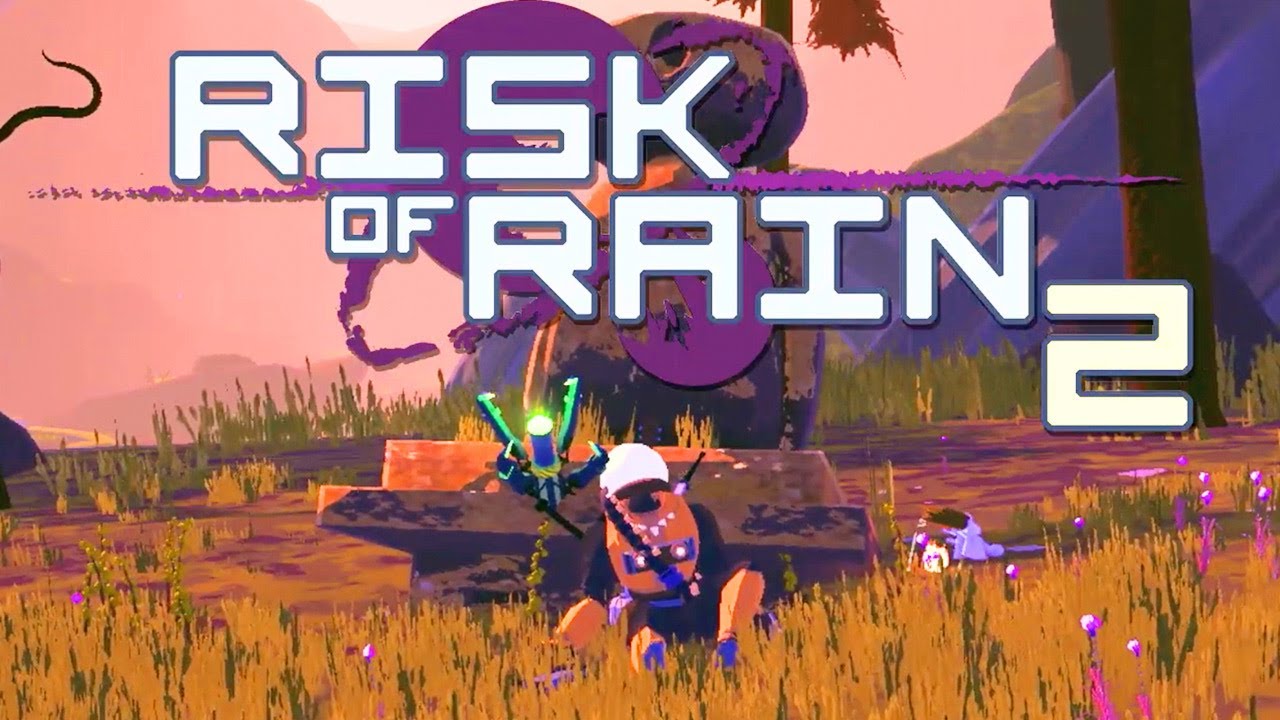
Welcome, survivors, to the Blanca Gaming Portal’s definitive guide to Risk of Rain 2! Whether you’re a newcomer to this chaotic roguelike or a veteran looking to sharpen your skills, this comprehensive guide will equip you with all the knowledge you need to conquer the challenges that await you on distant planets.
Introduction to Risk of Rain 2
Risk of Rain 2 is a frenetic third-person shooter roguelike that throws players into an alien world teeming with hostile creatures. As a survivor of a space cargo transport crash, your goal is simple: survive as long as possible while collecting items to grow stronger, or die trying.
What sets Risk of Rain 2 apart from other roguelikes is its unique time-based difficulty scaling. The longer you play, the harder the game becomes, creating a constant tension between the need to explore and gather resources and the urgency to progress quickly.
As an author who has spent countless hours in this unforgiving universe, I can attest that Risk of Rain 2 is a game that rewards skill, strategy, and adaptability. It’s a game that will challenge you, frustrate you, and ultimately provide some of the most exhilarating gaming moments you’ll ever experience.
Core Gameplay Mechanics
The Ticking Clock of Difficulty
The most crucial mechanic to understand in Risk of Rain 2 is the difficulty scaling. Every five minutes, the game’s difficulty increases, progressing through stages like “Easy,” “Medium,” “Hard,” and beyond. This system creates a unique dynamic where players must balance thorough exploration with swift progression.
Pro Tip: Aim to complete each stage within 5-7 minutes to stay ahead of the difficulty curve. However, don’t sacrifice valuable items for speed – finding the right balance is key.
Teleporter Events
Each stage contains a teleporter that must be activated to progress. Activating the teleporter spawns a boss and hordes of monsters. Defeating the boss and charging the teleporter (by staying within its radius) allows you to move to the next stage.
Strategy: Locate the teleporter first, then gather items in the surrounding area. This way, you’re prepared for the boss fight and can make a quick escape if needed.
The Importance of Movement
In Risk of Rain 2, standing still is a death sentence. Constant movement is essential for survival, whether you’re exploring, fighting, or charging the teleporter.
Author’s Note: “I can’t stress enough how crucial movement is in this game. Even as a veteran player, the moment I get complacent and stop moving is usually the moment I meet my demise.”
Survivor Guide
Risk of Rain 2 features a diverse cast of survivors, each with unique abilities and playstyles. Here’s a quick overview of some fan favorites:
Commando
The starting character and jack-of-all-trades. Commando is excellent for beginners due to his straightforward kit and versatility.
Key Abilities:
- Double Tap: A rapid-fire primary attack
- Phase Round: A piercing shot that can hit multiple enemies
- Tactical Dive: A roll that provides mobility and dodging capability
- Suppressive Fire: A barrage of shots that can stun enemies
Huntress
A highly mobile glass cannon that excels at dealing damage while on the move.
Key Abilities:
- Strafe: Auto-targeting primary attack that allows firing while sprinting
- Laser Glaive: A bouncing projectile that can clear groups of enemies
- Blink: A short-range teleport for quick escapes or positioning
- Arrow Rain: An AoE attack that rains arrows on a targeted area
Mercenary
For those who prefer close-quarters combat, the Mercenary offers a high-risk, high-reward playstyle.
Key Abilities:
- Laser Sword: A three-hit combo melee attack
- Whirlwind: A spinning attack that hits all nearby enemies
- Blinding Assault: A dash that damages enemies and provides invulnerability frames
- Eviscerate: A powerful ultimate that repeatedly strikes a single target
Pro Tip for Mercenary: Master the use of Eviscerate for both damage and invulnerability. It can be a lifesaver in tight situations.
Item Management and Strategies
Items are the lifeblood of any successful run in Risk of Rain 2. Understanding how to manage and prioritize items is crucial for survival.
Item Tiers
Items come in different rarities:
- White (Common)
- Green (Uncommon)
- Red (Legendary)
- Yellow (Unique)
- Blue (Lunar)
Key Items to Look Out For
- Soldier’s Syringe (White): Increases attack speed, beneficial for all survivors.
- Tougher Times (White): Gives a chance to block incoming damage.
- Paul’s Goat Hoof (White): Increases movement speed, crucial for survival.
- Ukulele (Green): Chance to chain lightning between enemies, excellent for crowd control.
- Will-o’-the-wisp (Green): Creates an explosion on enemy death, great for clearing groups.
- Rejuvenation Rack (Red): Doubles all healing, making you significantly more durable.
3D Printers and Scrappers
Use 3D Printers to exchange items of the same rarity for a specific item. This is great for building focused builds. Scrappers allow you to convert unwanted items into scrap, which can then be used in 3D Printers.
Strategy: Don’t be afraid to scrap items that don’t synergize well with your character or build. A focused build is often more powerful than a diverse one.
Lunar Items
Lunar Items offer powerful benefits but come with significant drawbacks. Use them wisely.
Author’s Opinion: “Lunar Items can completely change the way you play. The Shaped Glass, which doubles your damage but halves your health, is a personal favorite for high-risk, high-reward playstyles.”
Combat Tactics
Surviving in Risk of Rain 2 requires more than just good aim. Here are some essential combat tactics:
Kiting
Kiting involves attacking enemies while maintaining distance. This is crucial for ranged characters and even melee characters between cooldowns.
Technique: Strafe in a circle around enemies while attacking. Use terrain to block projectiles when possible.
Using Terrain
The environment is your friend. Use high ground to avoid melee enemies, and take cover behind obstacles to avoid projectiles.
Boss Strategies
Each boss has unique attack patterns. Learning these patterns is key to survival.
Example: The Stone Titan telegraphs its laser attack with a distinct sound and animation. Use this cue to take cover or prepare to dodge.
Crowd Control
As stages progress, you’ll face increasingly large hordes of enemies. Area of Effect (AoE) damage becomes crucial.
Items for Crowd Control:
- Gasoline
- Will-o’-the-wisp
- Ukulele
Advanced Strategies
For those looking to push their skills to the limit, here are some advanced strategies:
Artifact System
Artifacts modify the game rules, adding new challenges or benefits. The Artifact of Command, for instance, allows you to choose your items, enabling precise build crafting.
Speed Running
For the ultimate challenge, try speed running. The goal is to reach and defeat the final boss as quickly as possible.
Speed Run Tip: Prioritize movement speed items and only stop for essential pickups. Memorize teleporter locations for each stage.
Mastering the Mercenary
The Mercenary is considered one of the most challenging but rewarding survivors to play. Here are some pro tips:
- Use Blinding Assault to reposition and avoid damage.
- Eviscerate can be used defensively for invulnerability frames.
- Prioritize items that boost attack speed and on-hit effects.
Multiplayer Tips
Risk of Rain 2 shines in multiplayer. Here are some tips for team play:
Communication is Key
Use voice chat or pings to coordinate item pickups, teleporter activation, and boss fights.
Synergize Survivor Choices
Some survivors work particularly well together. For example, Engineer’s turrets combined with Huntress’s rain of arrows can create devastating kill zones.
Share the Wealth
Distribute items evenly among team members. A balanced team is stronger than one overpowered player.
Settings and Optimization
To get the most out of Risk of Rain 2, consider these settings:
Graphics Settings
If you’re experiencing performance issues, try lowering the following settings:
- Shadow Quality
- Post Processing
- Texture Quality
Control Settings
Enable auto-sprint for easier movement. Adjust your sensitivity to find the perfect balance for aiming and mobility.
Difficulty Settings
For newcomers, start on Drizzle difficulty to learn the ropes. As you improve, challenge yourself with Rainstorm and eventually Monsoon difficulties.
Community Insights and Player Reviews
The Risk of Rain 2 community is known for its passion and creativity. Here are some insights from fellow players:
“The game’s difficulty curve is perfect. It always feels challenging but never unfair.” – Steam user XxRainMakerxX
“Multiplayer in this game is some of the most fun I’ve had in co-op. The chaos is unmatched!” – Reddit user u/SurvivorMain
“The variety of builds you can create with different item combinations keeps me coming back for more.” – Blanca Gaming Portal user RoREnthusiast
Author’s Take: As someone who has poured hundreds of hours into Risk of Rain 2, I can confidently say that it’s one of the most rewarding roguelikes I’ve ever played. The sense of progression, both in-game and in your own skills, is incredibly satisfying. While it can be punishingly difficult at times, those moments when everything clicks and you become an unstoppable force are truly exhilarating.
Conclusion
Risk of Rain 2 is a game that continues to challenge and surprise even after hundreds of hours of play. With its deep mechanics, diverse cast of survivors, and near-infinite item combinations, every run feels fresh and exciting.
Remember, the key to success in Risk of Rain 2 is adaptability. Learn to work with what the game gives you, stay mobile, and never stop improving. Whether you’re a solo player or part of a team, the thrill of surviving against increasingly overwhelming odds is what makes this game truly special.
So, gear up, choose your survivor, and prepare for an adventure that’s literally out of this world. The planets of Risk of Rain 2 await, teeming with danger, loot, and the promise of becoming a legend – if you can survive long enough.
Good luck, and may the items be ever in your favor!
This guide was brought to you by the Blanca Gaming Portal. For more in-depth gaming guides and reviews, visit our website and join our community of passionate gamers!
Thankfulness to my father who stated to me regarding this weblog,
this blog is really awesome.
As a speedrunner, I found your section on speedrunning a bit brief. For those interested in getting into RoR2 speedrunning, I’d recommend starting with Drizzle Artifact of Command runs. This allows you to learn optimal routes and item builds without the RNG factor. Once you’re comfortable, move on to Prismatic Trials speedruns, which offer a standardized challenge. Remember, in speedrunning, time is literally everything – even seemingly small optimizations like memorizing chest locations can shave crucial seconds off your time.
This guide does a great job covering the basics and some advanced tactics, but I think it’s worth mentioning the modding community. For players who have mastered the base game, mods can add hundreds of hours of fresh content. From new survivors and items to complete overhauls of game mechanics, the modding scene for Risk of Rain 2 is incredibly vibrant. Just be sure to play vanilla first to appreciate all the nuances before diving into mods!
As someone who mainly plays multiplayer, I found your team tips spot-on. Communication is indeed key! One strategy our group uses is to have designated roles – for example, one player focuses on crowd control, another on boss damage, etc. This approach helps us synergize our item picks more effectively. Also, don’t underestimate the power of Equipment items in a team setting. A well-timed Royal Capacitor or Forgive Me Please can turn the tide of a difficult encounter.
Great guide for beginners! I wish I had this when I first started playing. One aspect that I think deserves more attention is the importance of shrine management. Knowing when to risk a Shrine of Chance or how to effectively use a Shrine of Combat can make or break a run. Also, for new players, I’d recommend trying out the Artifact of Sacrifice. It changes item acquisition dramatically and can help you learn item effects quickly.
Wow, this guide is incredibly comprehensive! As a veteran player, I particularly appreciate the advanced strategies section. One thing I’d add is the importance of learning enemy spawn patterns on each stage. This knowledge can be crucial for efficient item gathering and teleporter hunting. Also, for those struggling with the Mercenary, try practicing his combos in the Prismatic Trials mode – it’s a great way to improve without the pressure of a full run.
Для заказа прогона Хрумером, вам необходимо обратиться к специализированным компаниям или Вы можете заказать у нас по наращиванию линк билдинг
так же мы предоставляем услуги по сео продвижению с помощью гса прогонов через тир и поможем если будет нужно оптимизировать ваш проект для быстрой связи через телеграмм логин @pokras7777 либо добавится в нащу группу в телеграмм https://t.me/bazixrumer либо через скайп логин pokras7777
мы будем рады вам помочь в любых вопросах по наращиванию трафика на вашем проекте время работы 24/7 без выходных!
Z3_NYFcXU7
Для заказа прогона Хрумером, вам необходимо обратиться к специализированным компаниям или Вы можете заказать у нас по наращиванию линк билдинг
так же мы предоставляем услуги по сео продвижению с помощью гса прогонов через тир и поможем если будет нужно оптимизировать ваш проект
для быстрой связи через телеграмм логин @pokras7777 либо добавится в нащу группу в телеграмм https://t.me/bazixrumer либо через скайп логин pokras7777
мы будем рады вам помочь в любых вопросах по наращиваниютрафика на вашем проекте время работы 24/7 без выходных!
Для заказа прогона Хрумером, вам необходимо обратиться к специализированным компаниям или Вы можете заказать у нас по наращиванию линк билдинг
так же мы предоставляем услуги по сео продвижению с помощью гса прогонов через тир и поможем если будет нужно оптимизировать ваш проект
для быстрой связи через телеграмм логин @pokras7777 либо добавится в нащу группу в телеграмм https://t.me/+HFxk5vlUvGEzM2Zi либо через скайп логин pokras7777
мы будем рады вам помочь в любых вопросах по наращиваниютрафика на вашем проекте время работы 24/7 без выходных!
Для заказа прогона Хрумером, вам необходимо обратиться к специализированным компаниям или Вы можете заказать у нас по наращиванию линк билдинг
так же мы предоставляем услуги по сео продвижению с помощью гса прогонов через тир и поможем если будет нужно оптимизировать ваш проект для быстрой связи через телеграмм логин @pokras7777 либо добавится в нащу группу в телеграмм https://t.me/+HFxk5vlUvGEzM2Zi либо через скайп логин pokras7777
мы будем рады вам помочь в любых вопросах по наращиванию трафика на вашем проекте время работы 24/7 без выходных!
Z3_NYFcXU7